Monday, June 5, 2017

Wedding Planning- Wedding Favors and Decor Trends- Etsy

It's no secret that couples want a wedding that wows their guests.

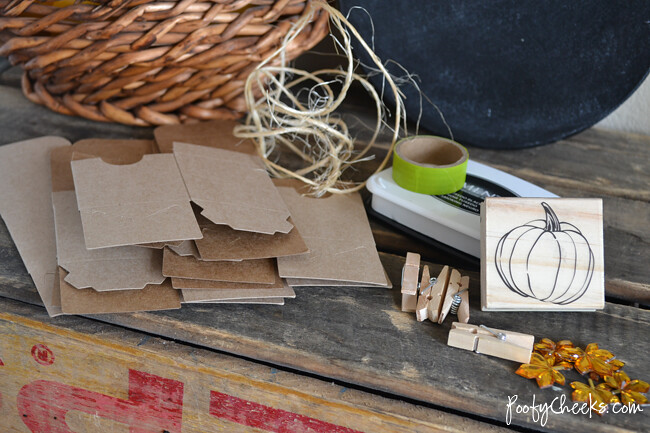
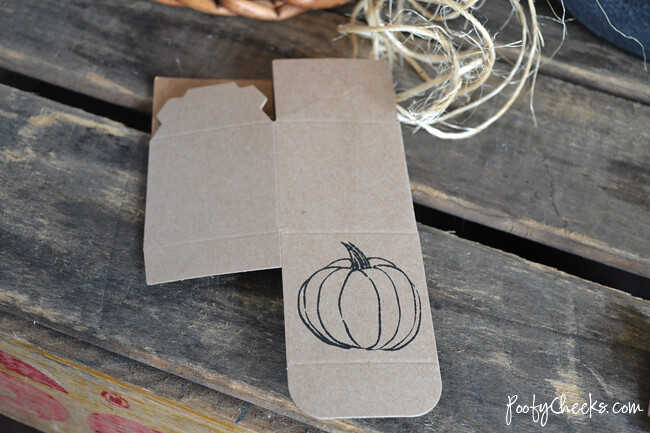
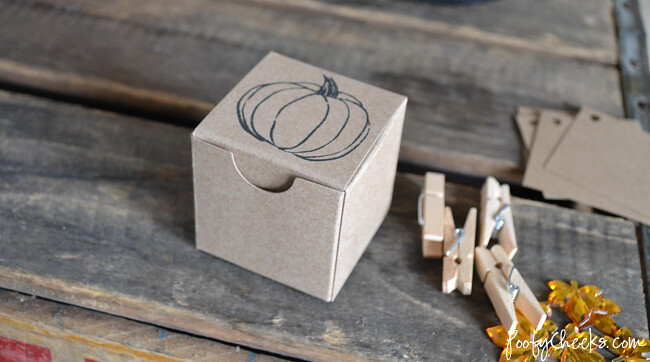
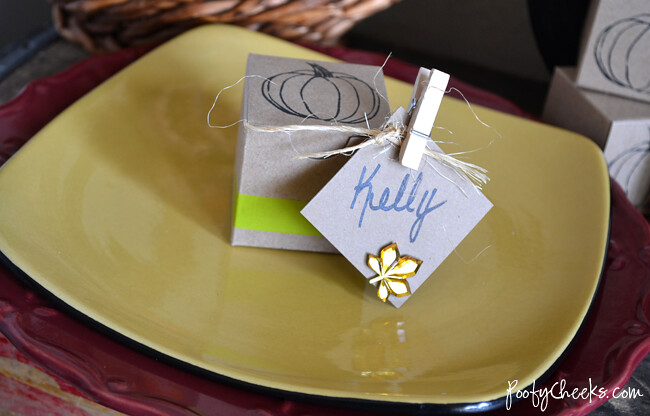
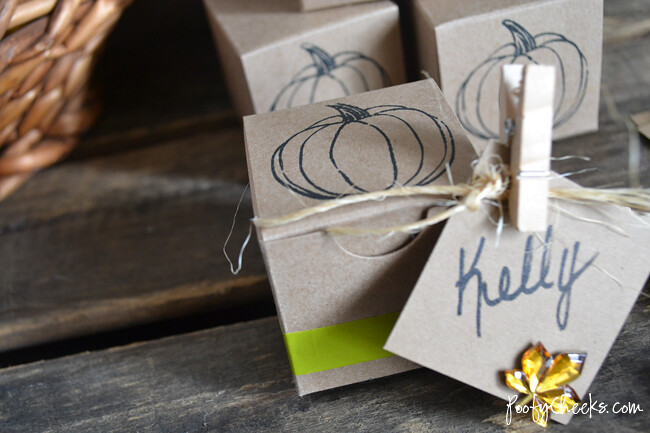
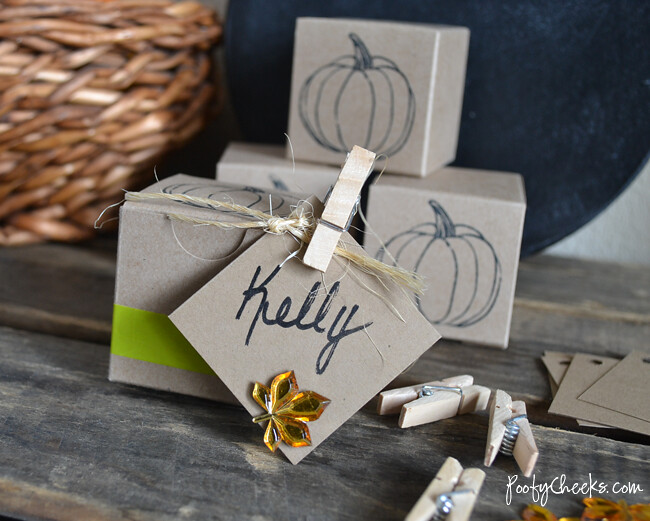
Brides who want decor that feels natural and organic — yet elegant, should check out why we love kraft packaging so much... it's eco-friendly, it's neutral, it's trending, yet timeless... any color can be paired with it for a classy, vintage glamour touch- charcoal to blue-greys, or grey-browns, copper, rose gold, blush rose and pewter.


https://www.leboxboutique.com/listing/521871609/kraft-gift-boxes-6-x-6-x-4-inch-set-of-5

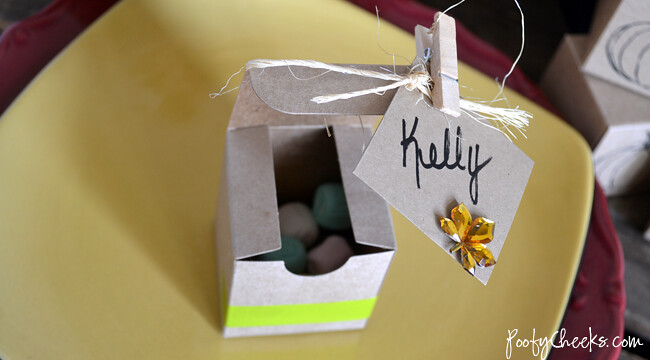
Candy Buffets- Candy bars and buffets are loved by guests and we have plenty of box and bag options for your family and friends to fill up! These are perfect for s’mores stations and candy bars or buffets!


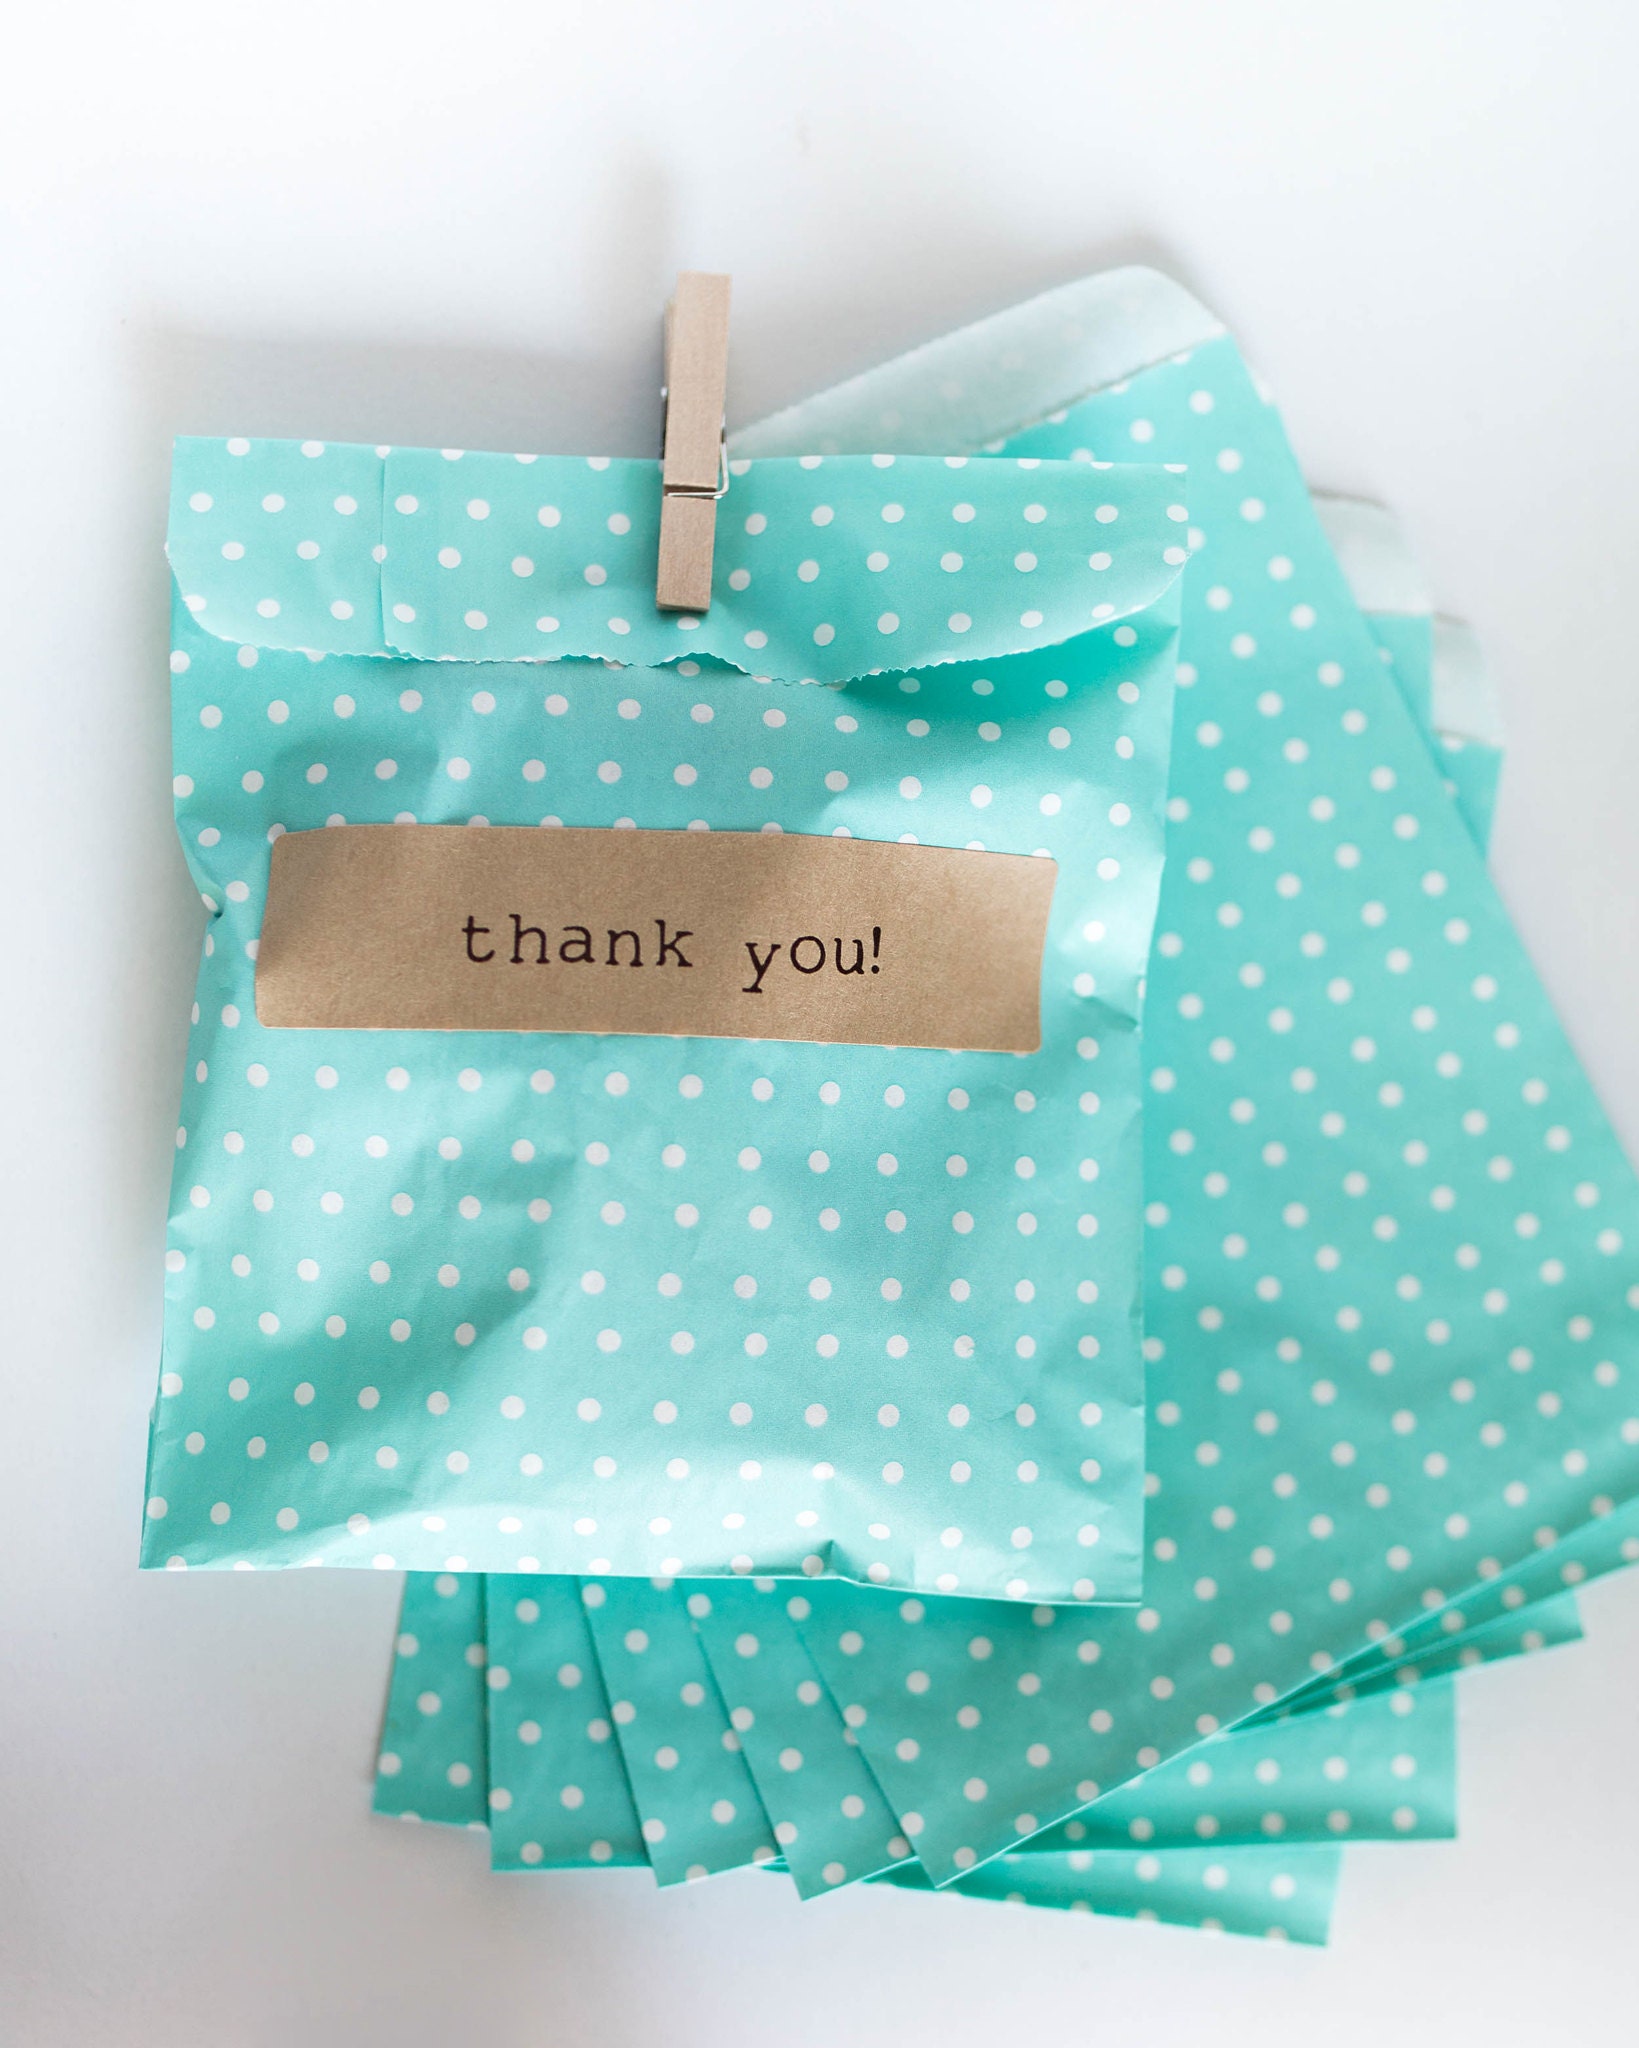
https://www.leboxboutique.com/listing/534028349/lot-of-12-teal-polk-a-dot-paper


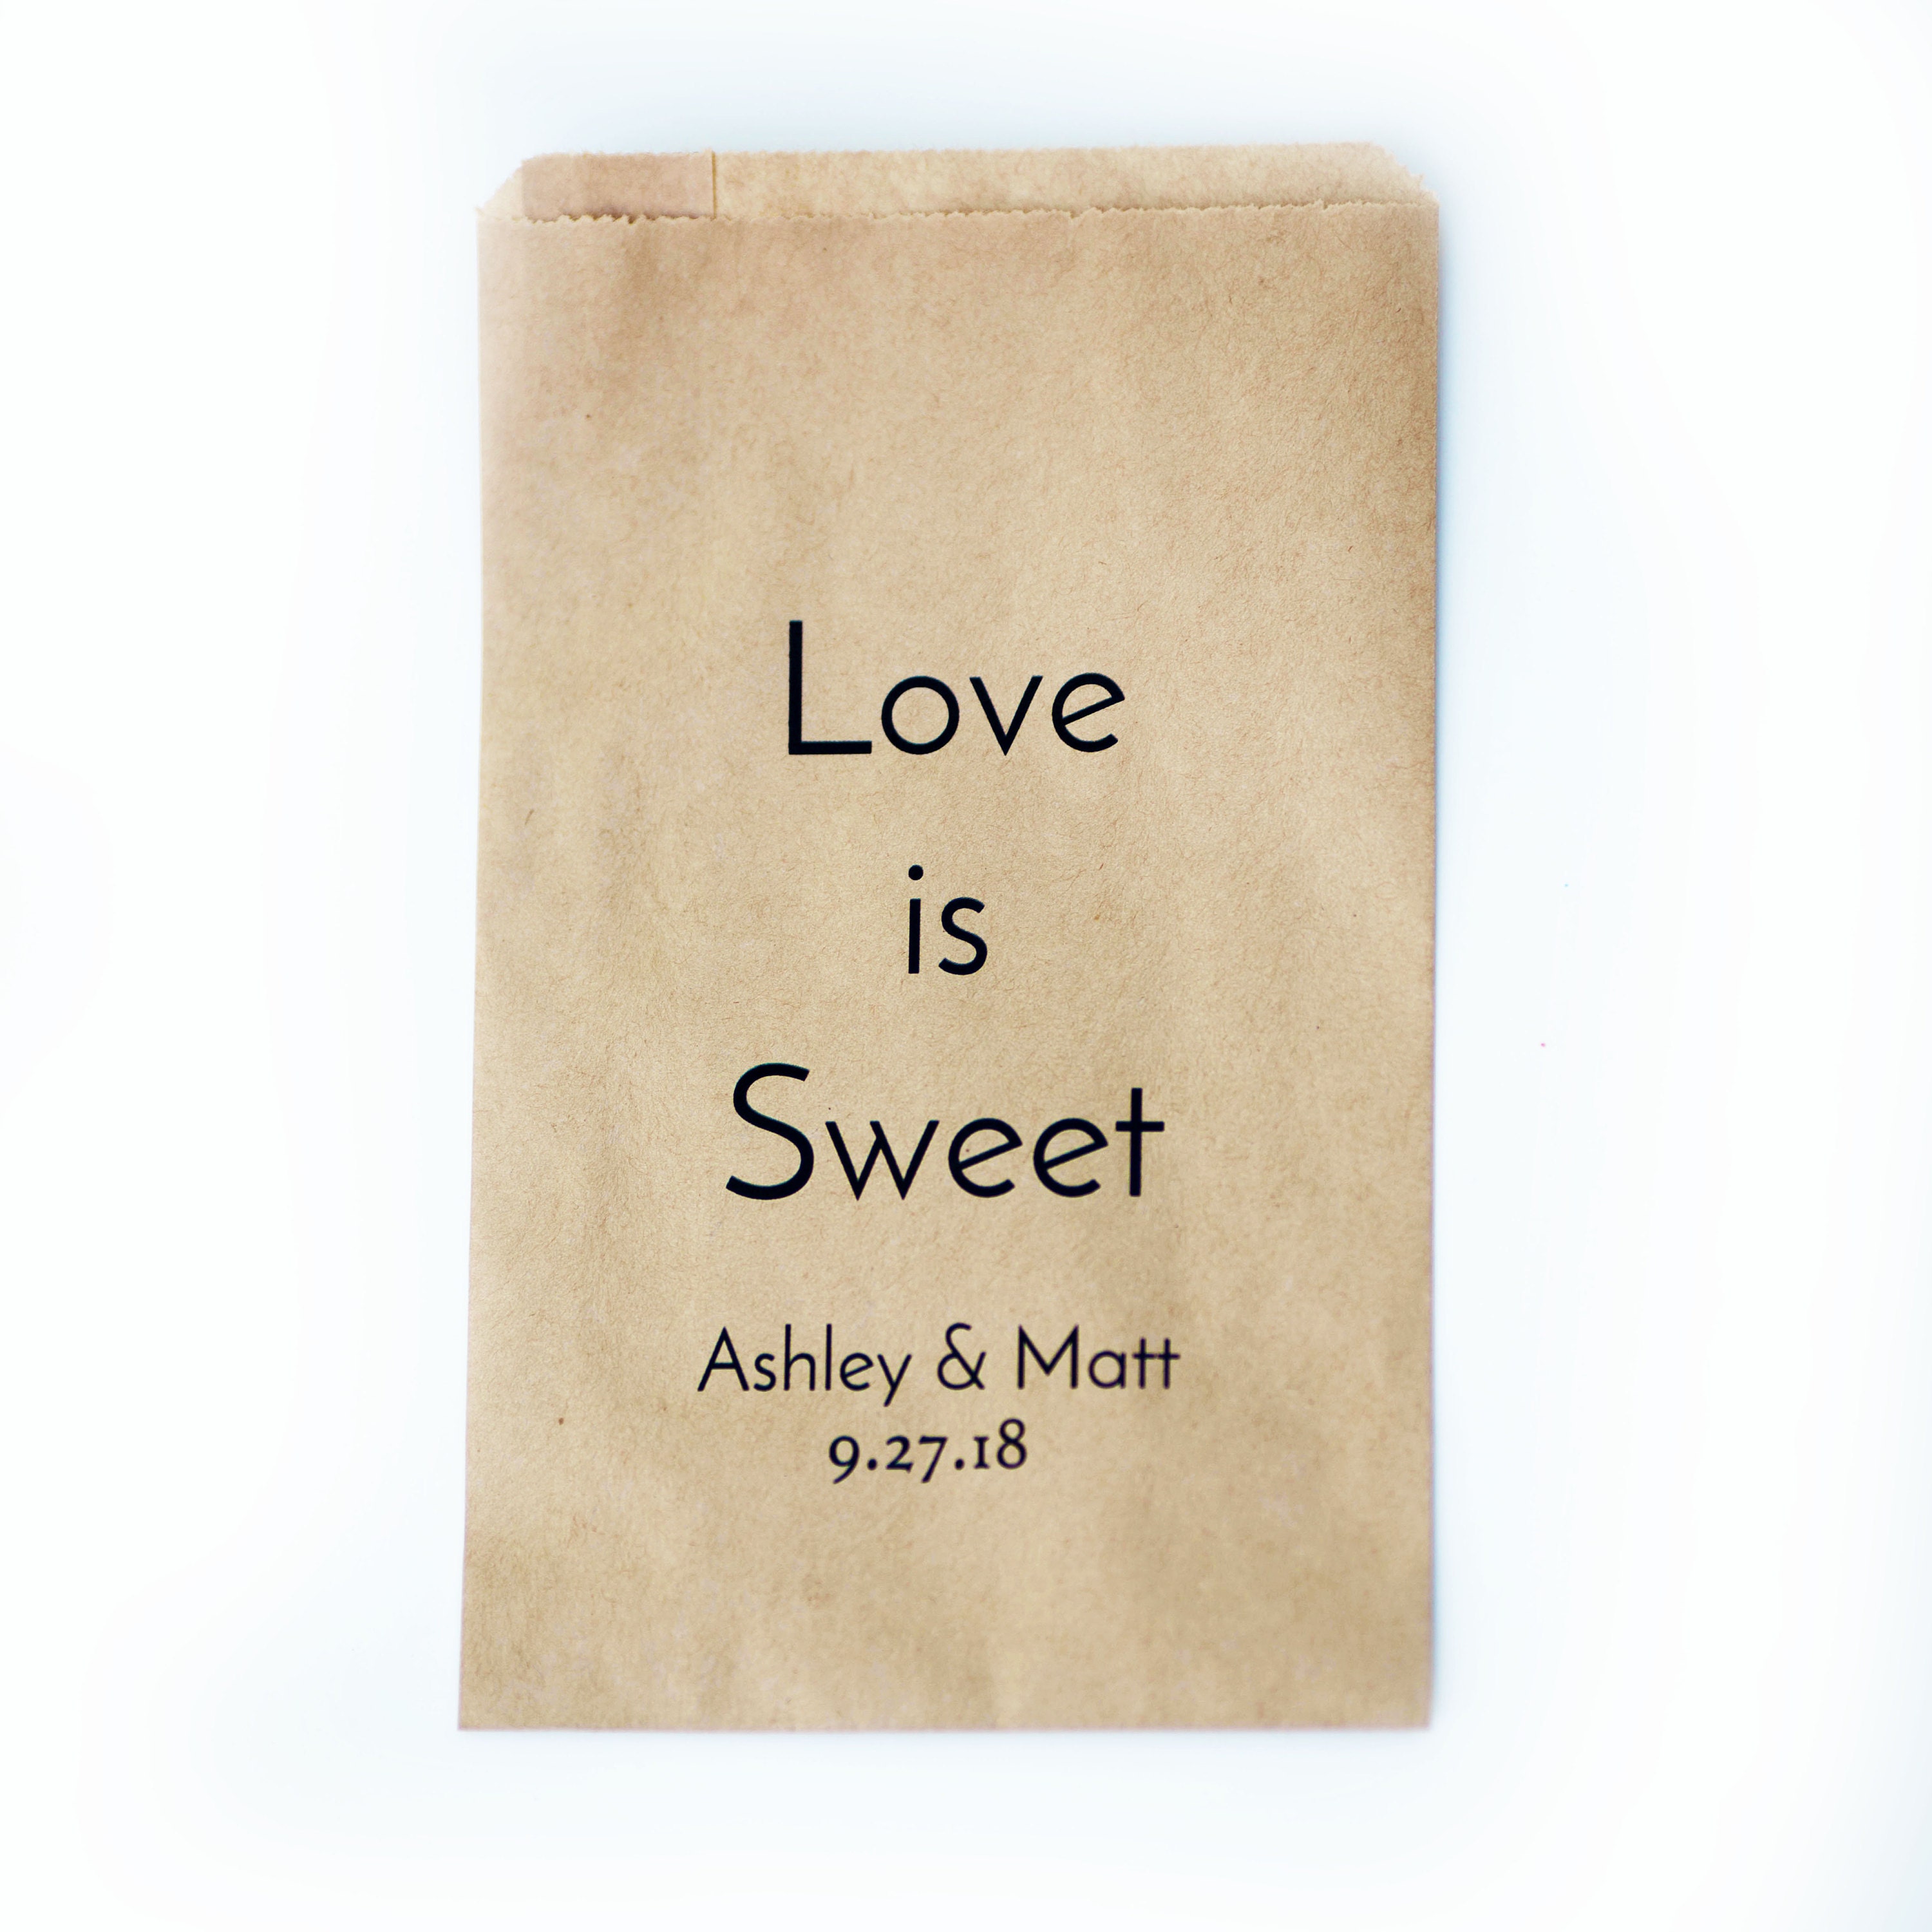
https://www.leboxboutique.com/listing/529533927/kraft-bags-merchandise-gift-food-wedding


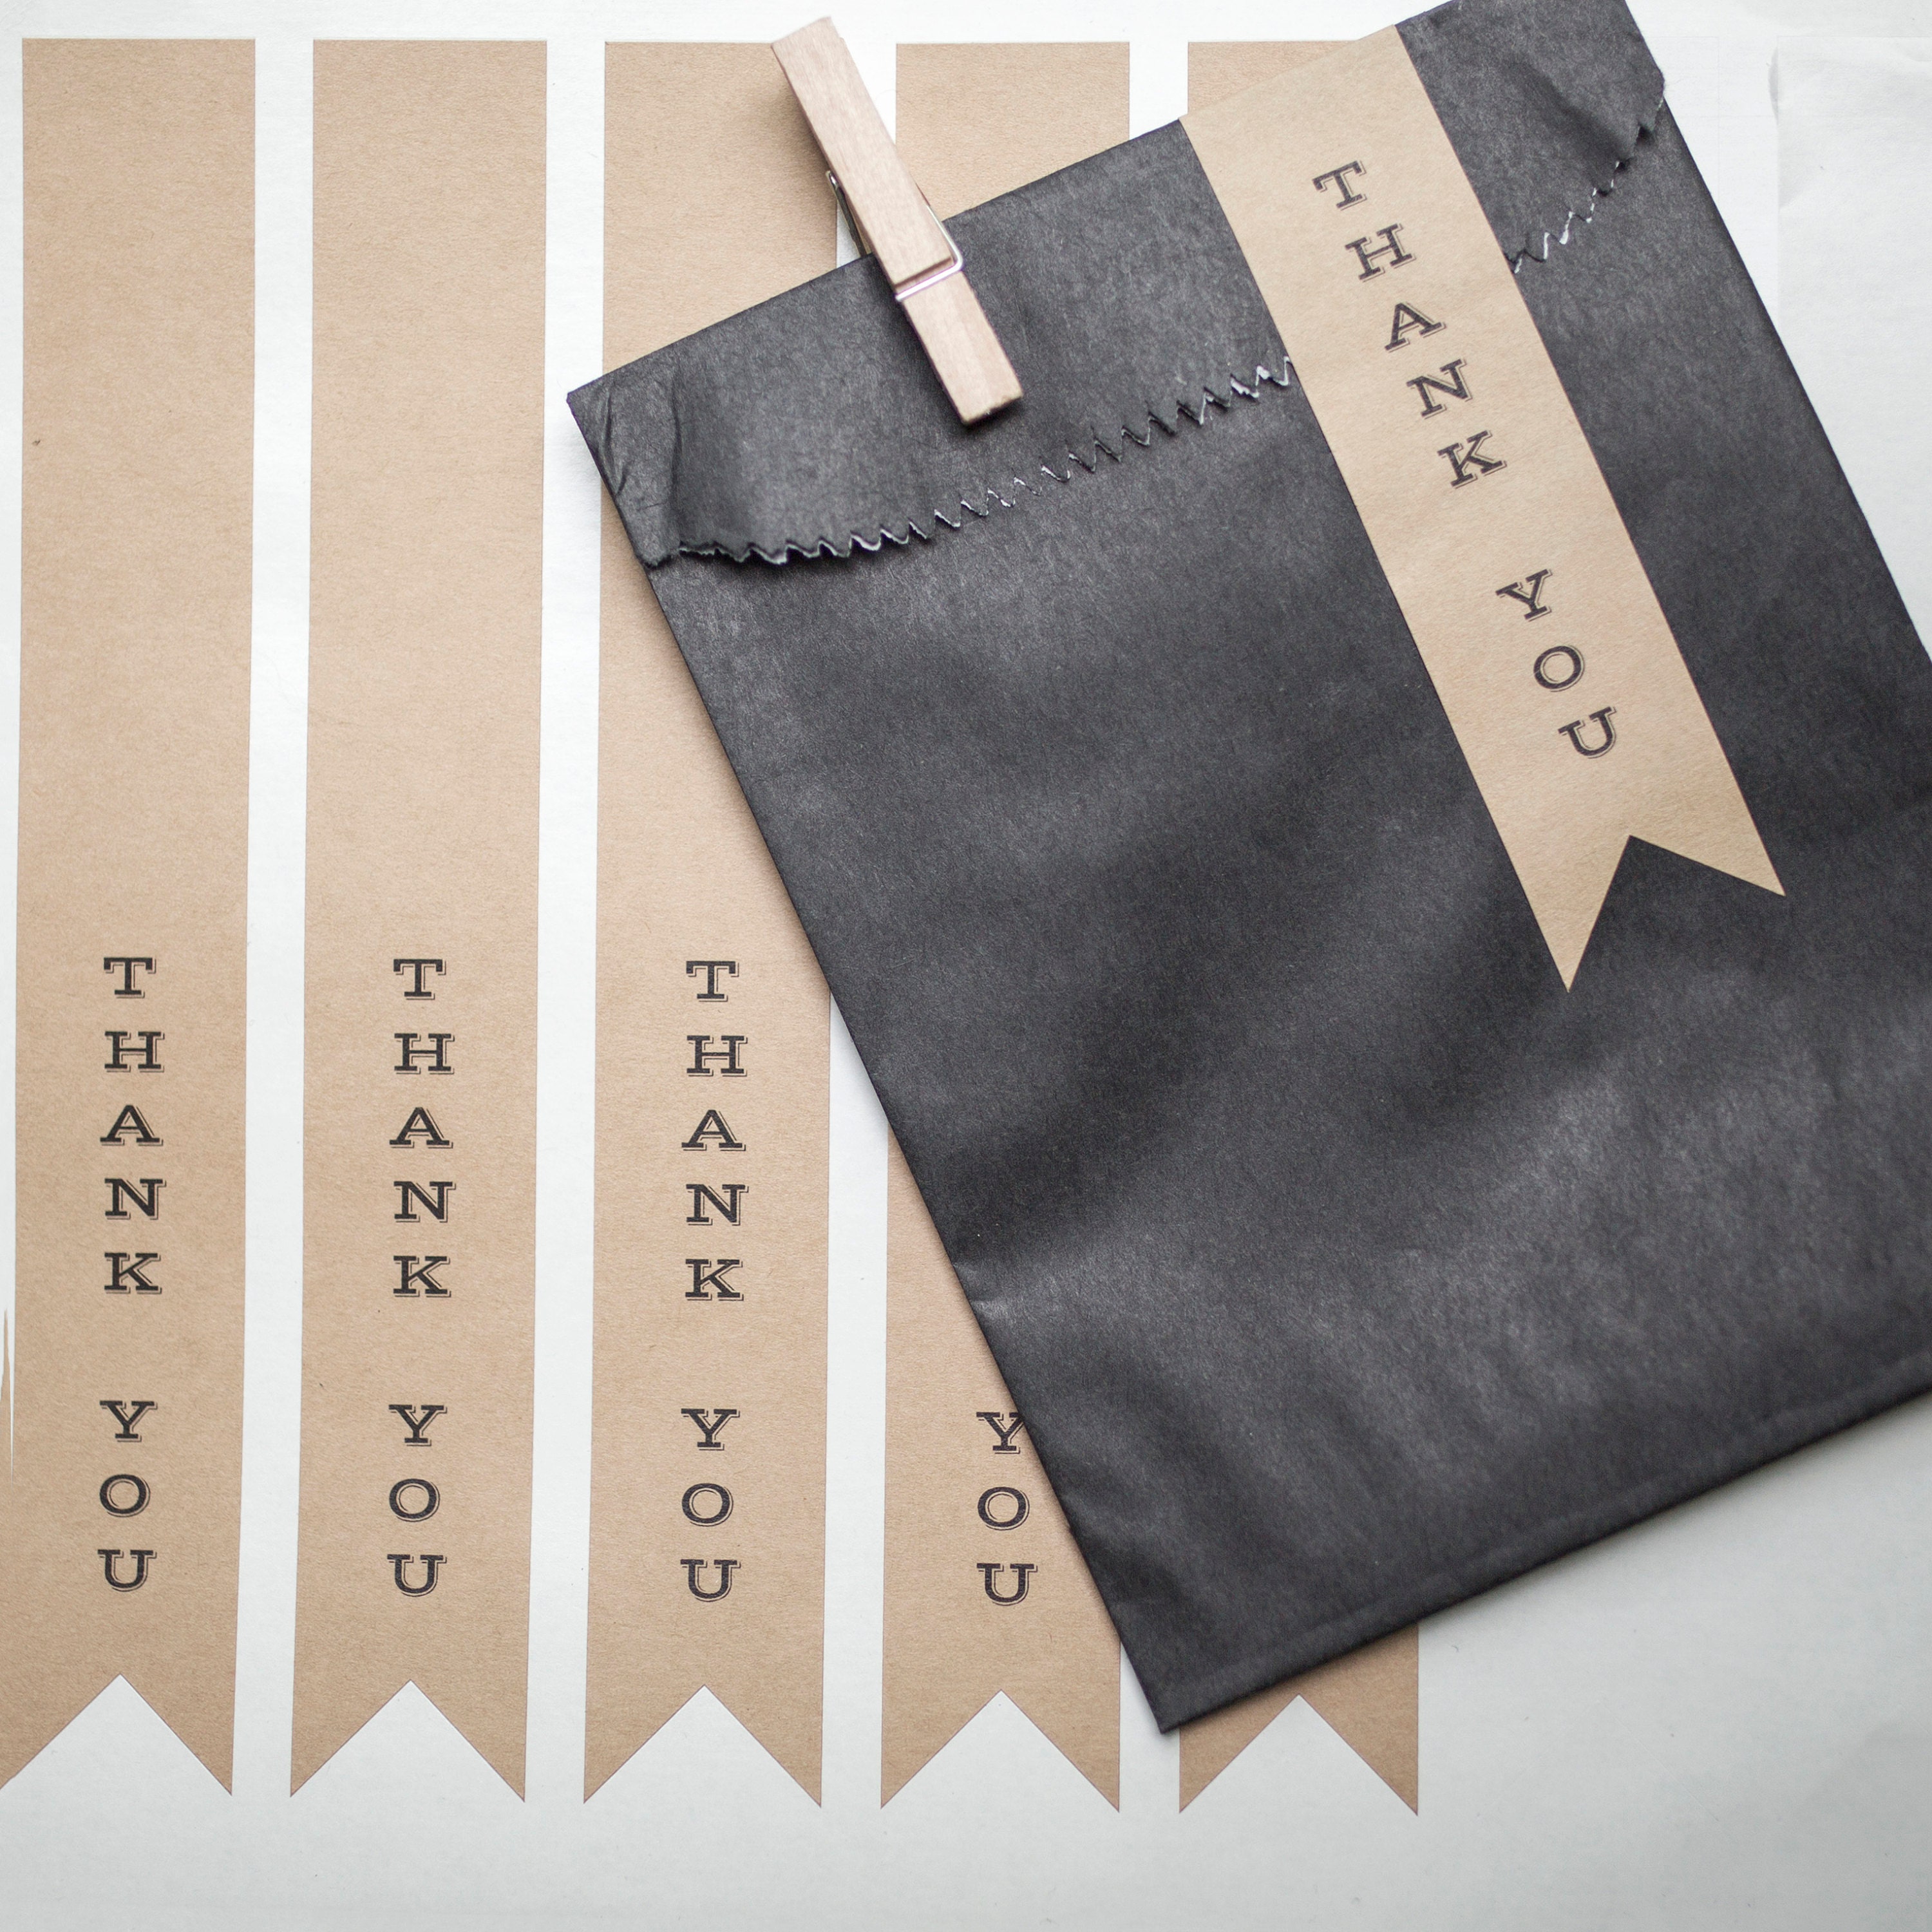
https://www.leboxboutique.com/listing/520955536/8-thank-you-ribbon-stickers-75-x-1

Wedding Party- Don't forget before the big day! We've got you covered for that also! Love these, "Will you be my bridesmaid" custom stickers and boxes.


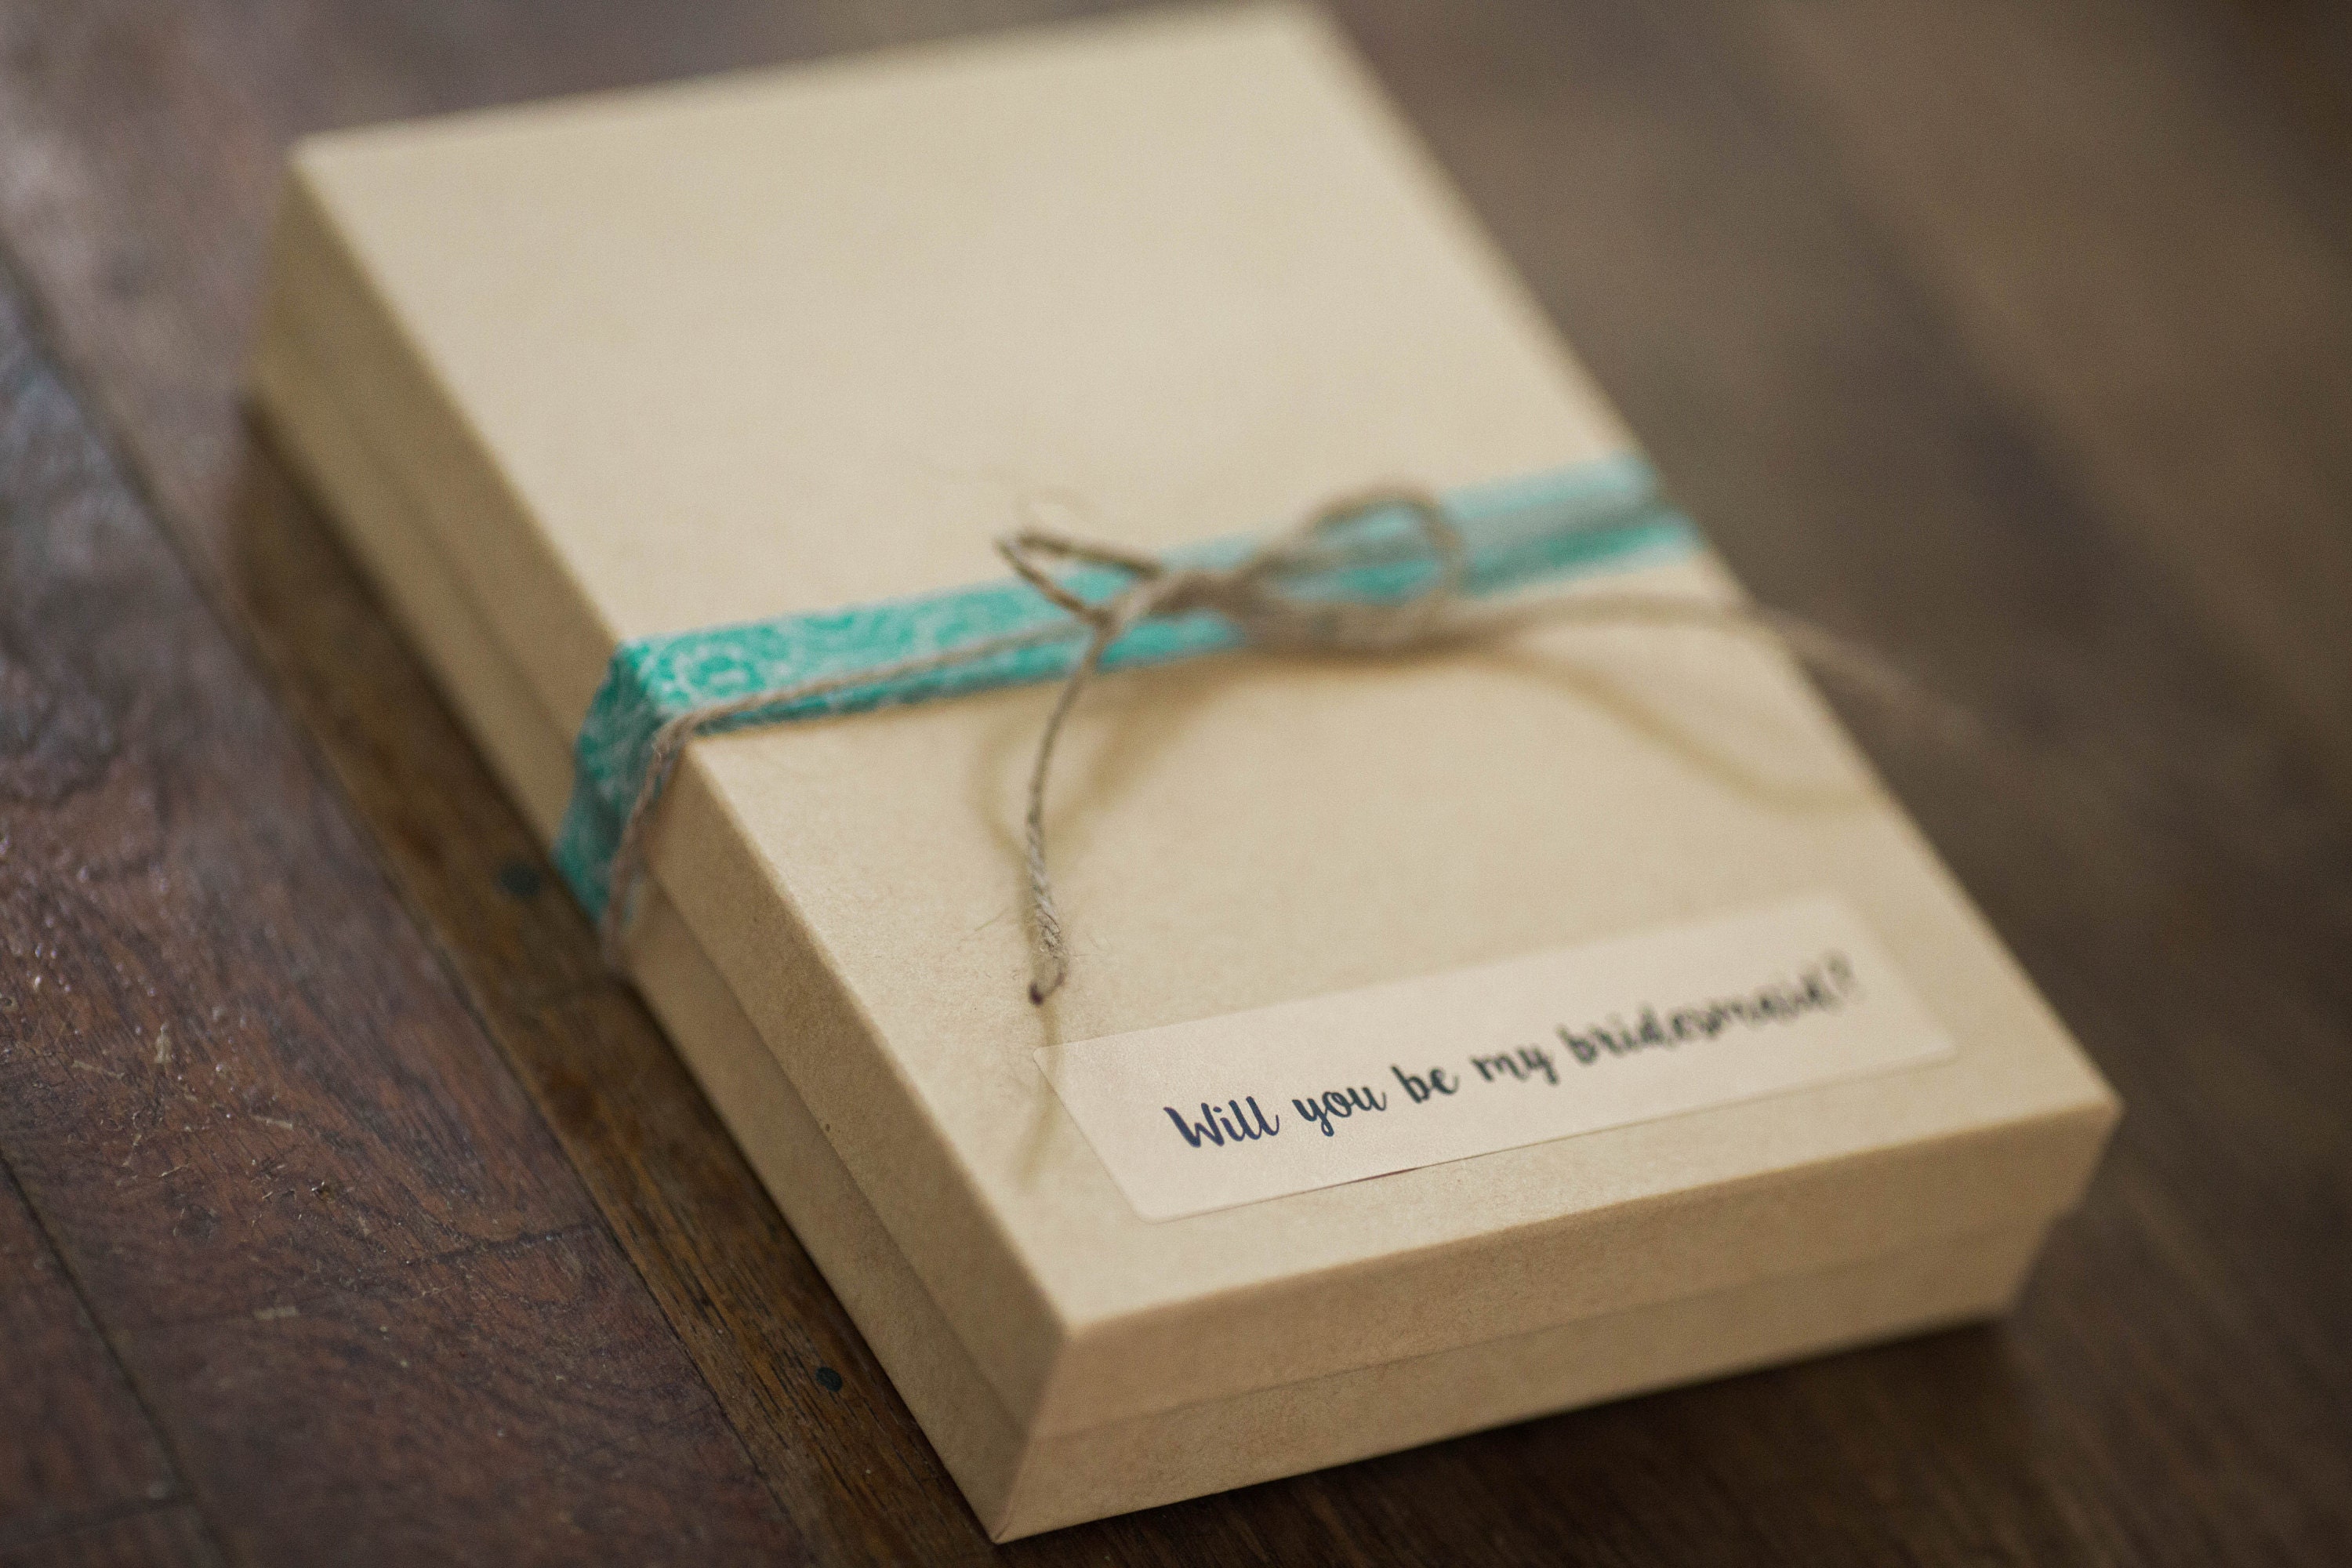
https://www.leboxboutique.com/listing/533133773/wedding-sticker-labels-will-you-be-my

Bridesmaid/ Groomsmen Gifts- These handmade soaps & scrubs make the perfect gift for your bridesmaids and groomsmen. We also have them in favor sizes for guests !


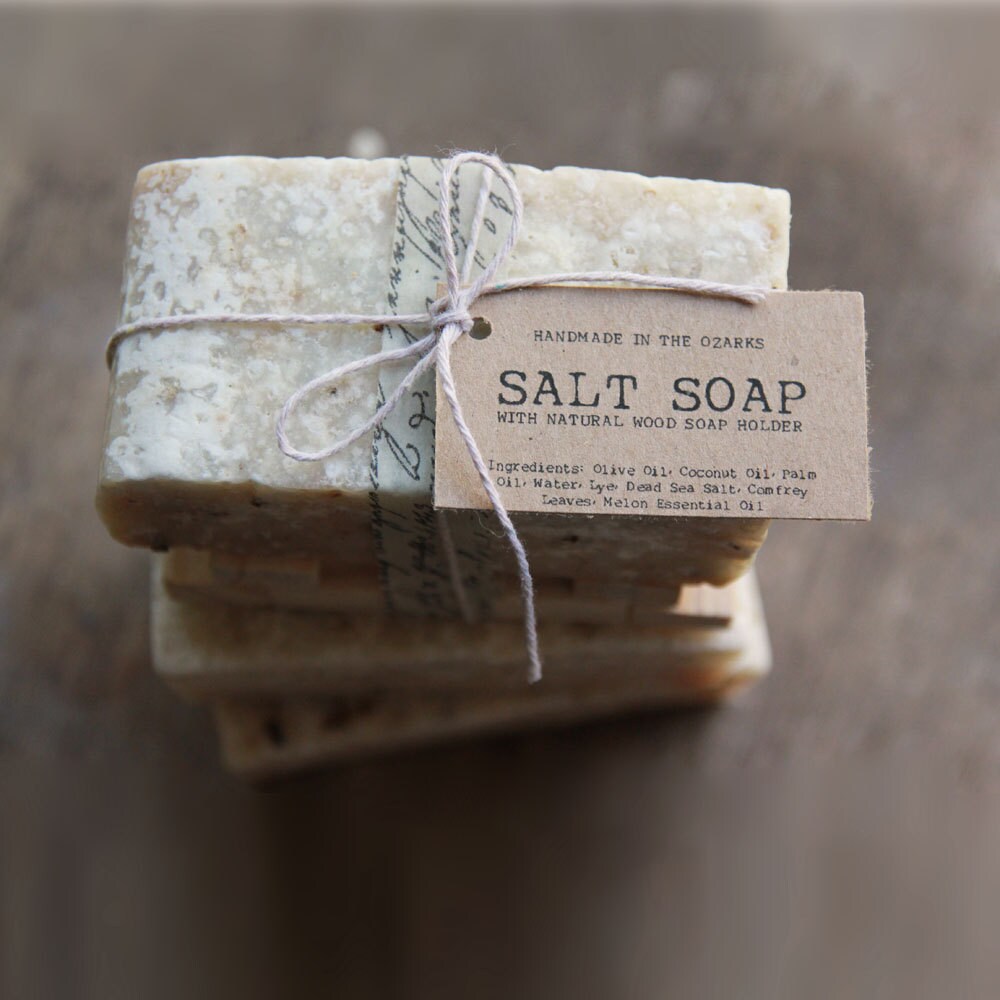
https://www.leboxboutique.com/listing/170529076/salt-soap-bar-made-in-the-ozarks-luxury


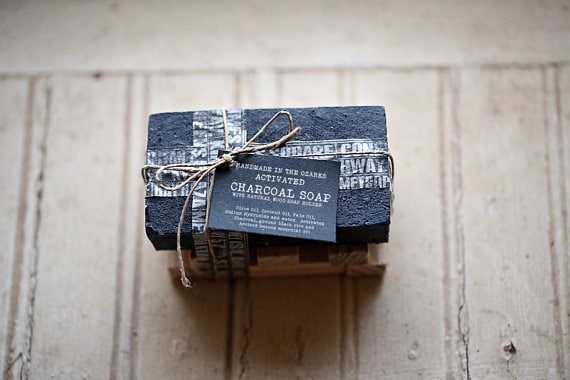
https://www.leboxboutique.com/listing/482295778/activated-charcoal-soap-bar-only-no


https://www.leboxboutique.com/listing/170528510/beer-soap-made-in-the-ozarks-rustic


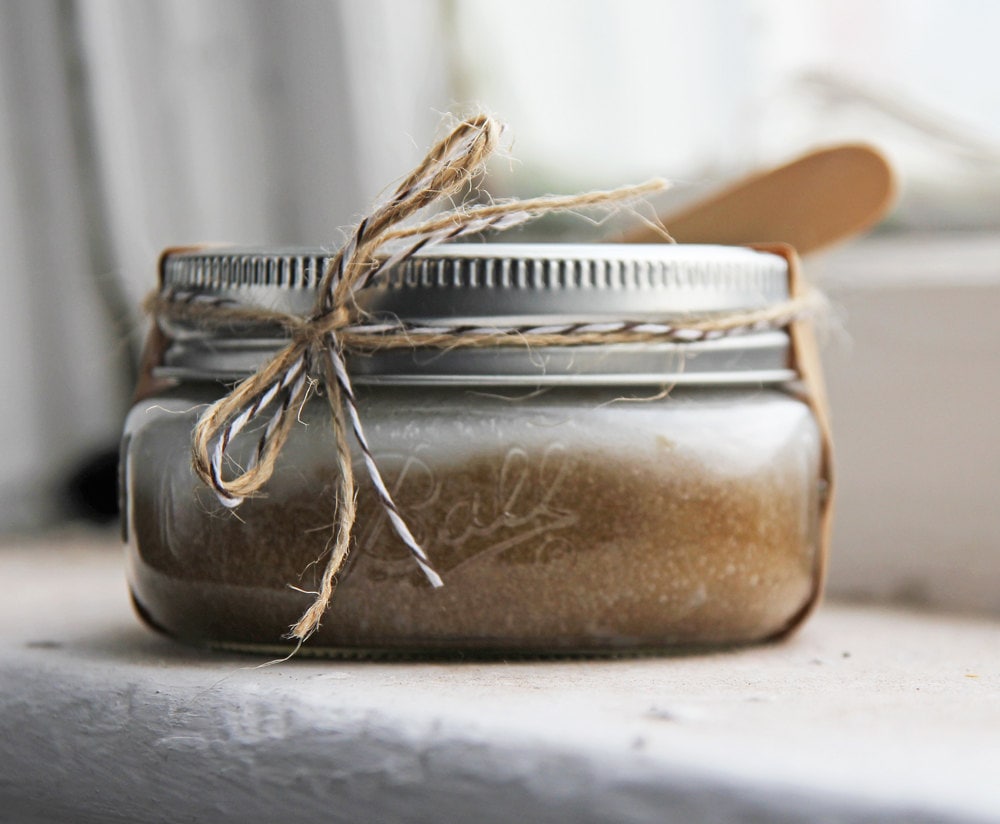
https://www.leboxboutique.com/listing/65461723/coconut-and-brown-sugar-scrub-8oz-in


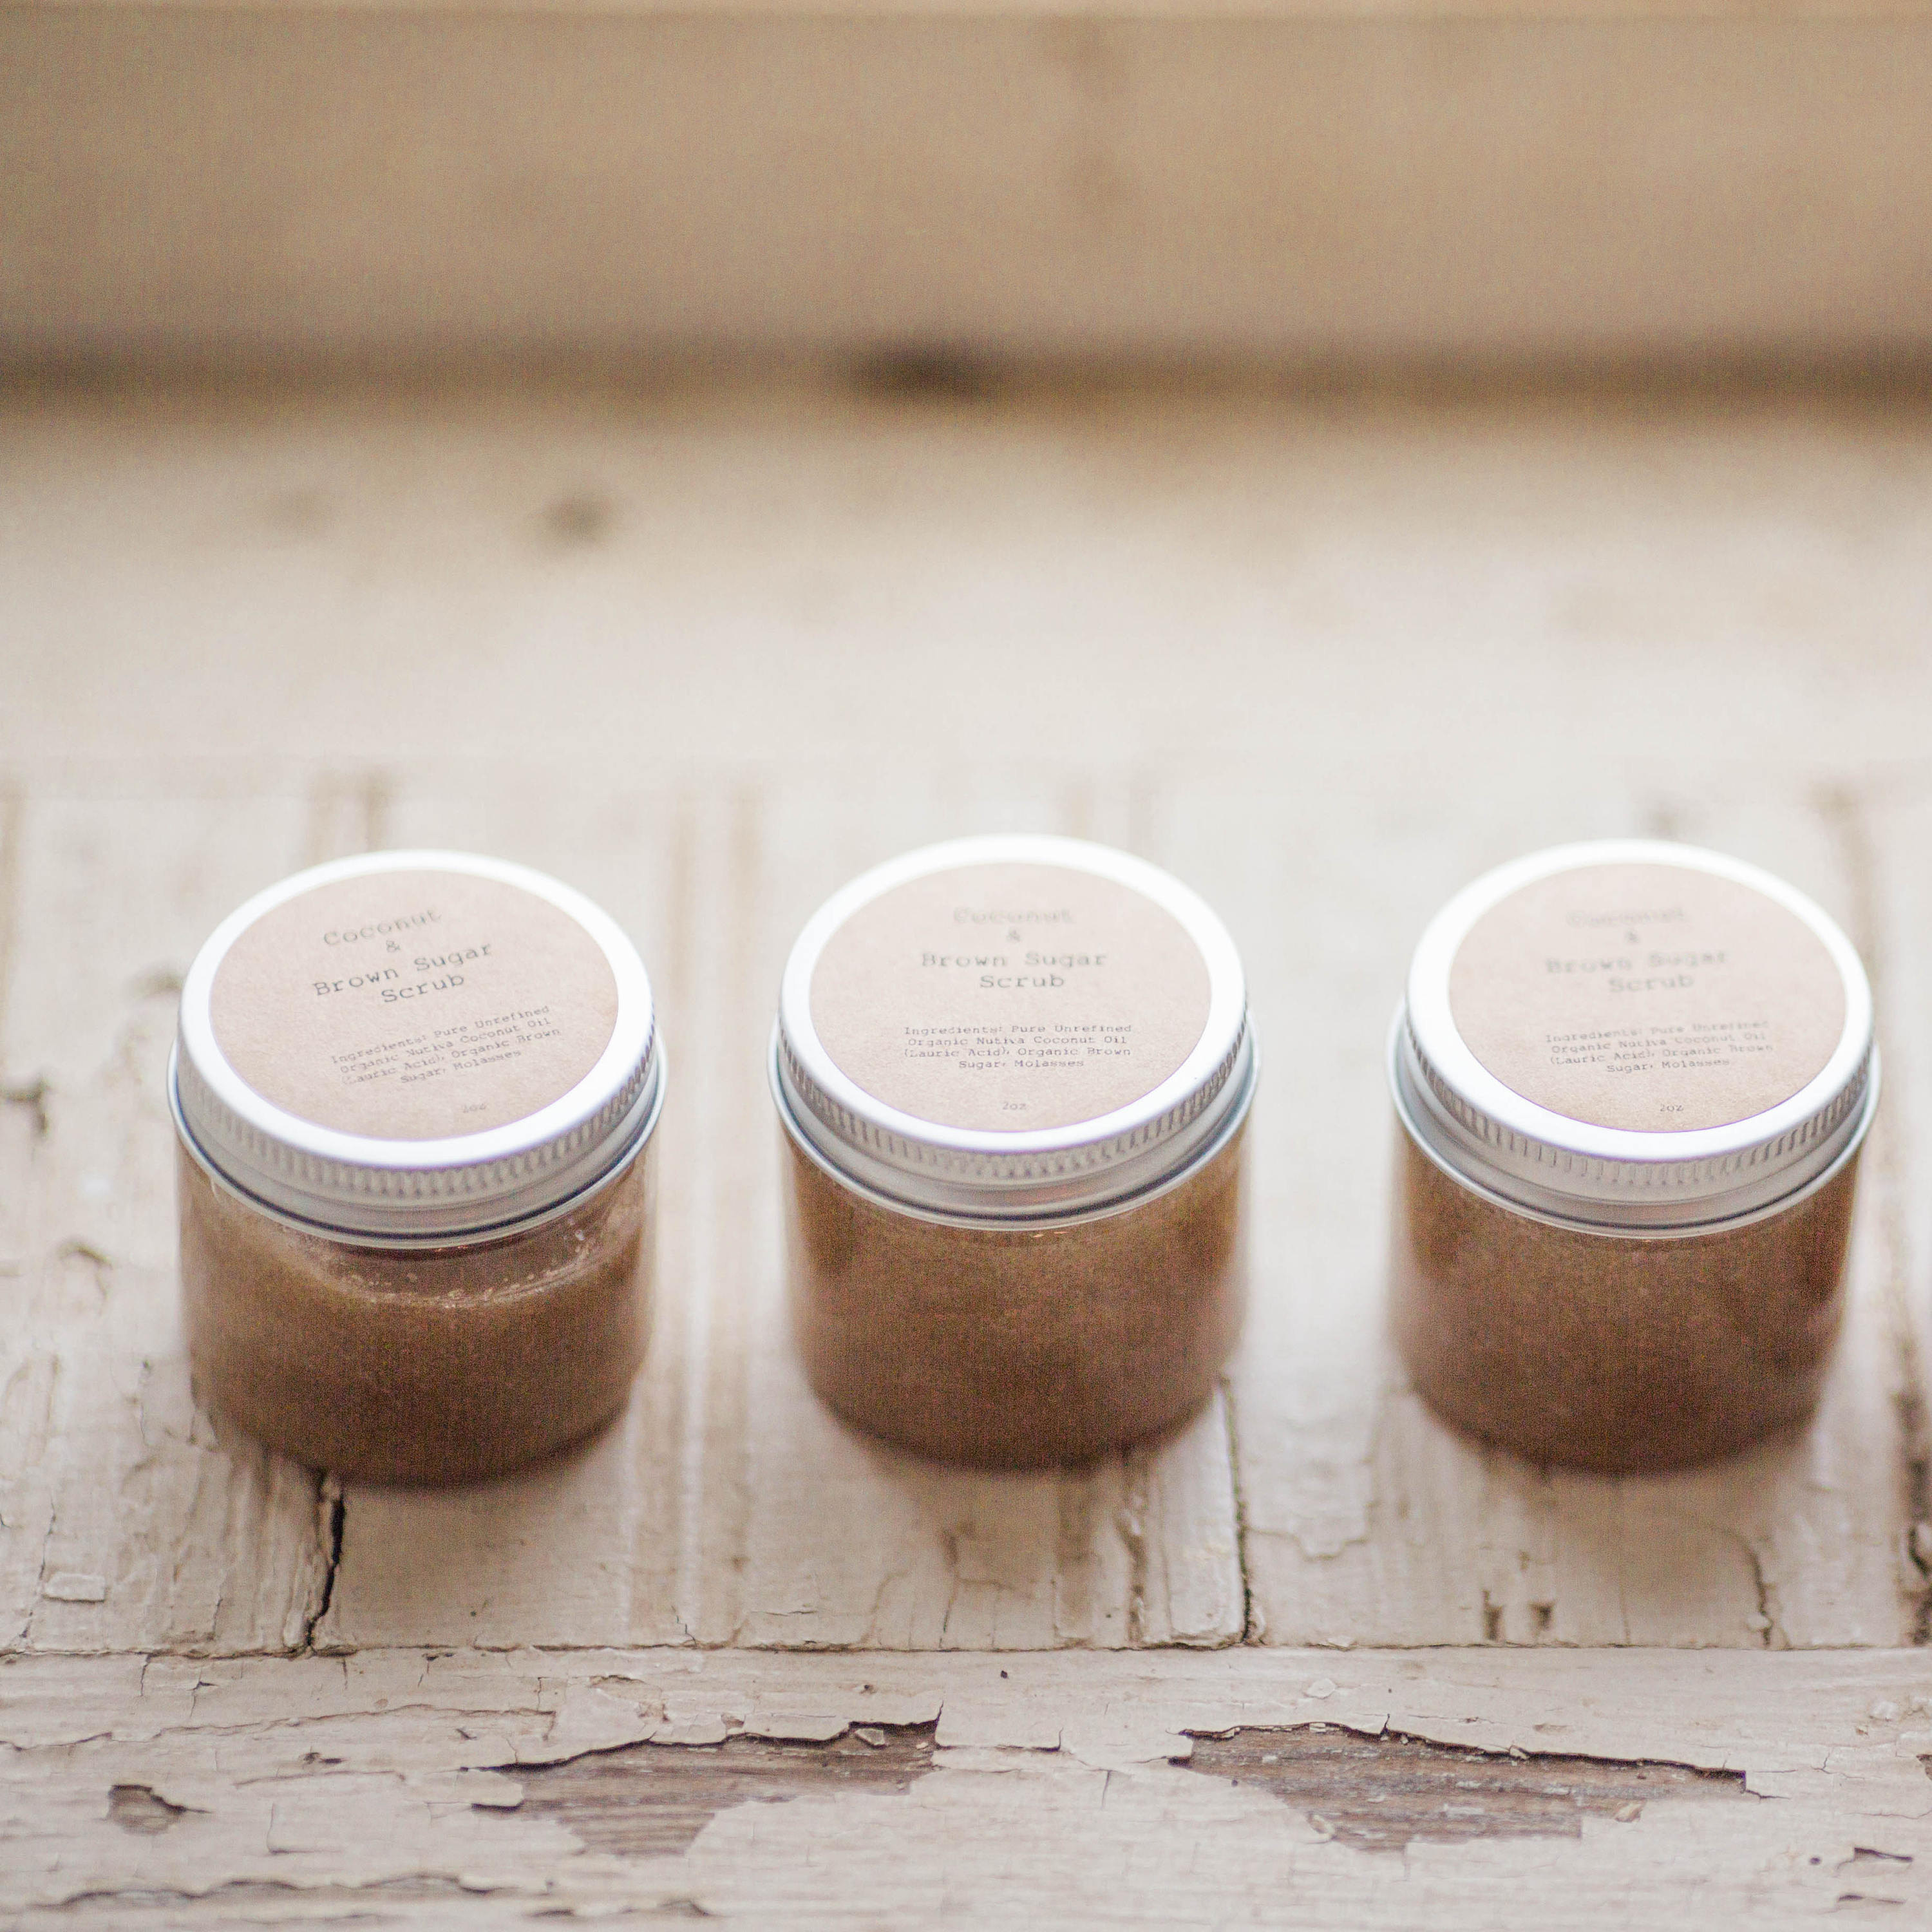
https://www.leboxboutique.com/listing/512420380/coconut-and-brown-sugar-scrub-4oz-set-of


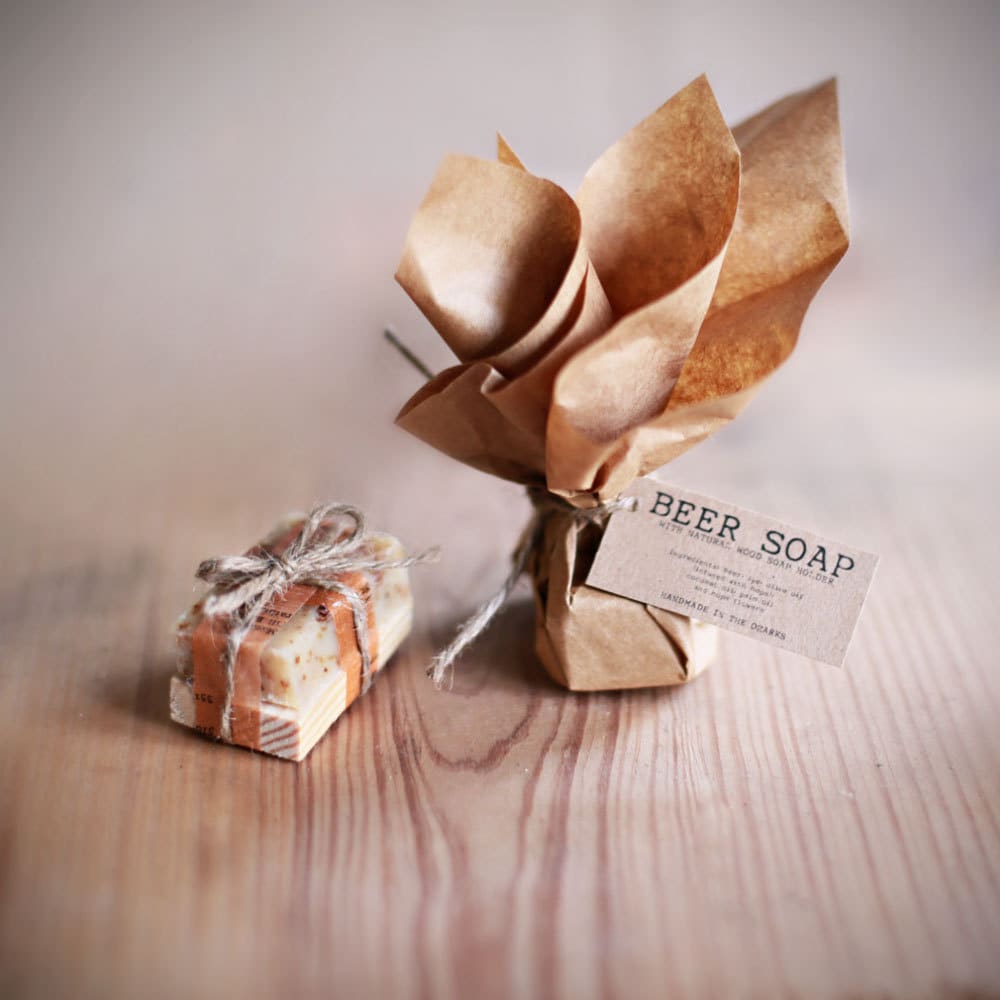
https://www.leboxboutique.com/listing/219782718/mini-beer-soap-party-favors-with-wooden

Check out our Etsy shop for more ideas!

Happy wedding planning!!!

Tuesday, March 12, 2013

Happy Birthday Boxes....

Shelley here to share with you a quick way to make some fun birthday surprise boxes using Le Box Boutique's Kraft Natural Gift Boxes, washi tape, and twine!


 First I took one of the kraft boxes and completely covered it with washi tape!! Look how fun and festive it is! It actually looks like a wrapped present! Next, I wrapped twine around the box and added a tag. I decided it needed a little something fun so I made some pom poms using the Le Box Boutique's twine. Go HERE for a great tutorial. Very easy and it just adds a spunky element to the box!


To make the cute box beneath the washi box I simply wrote with a white Signo pen "Happy Birthday to you.." and repeated it across the box on all sides while the box was flat. Simple... but I so love the idea of being able to personalize it to any event or for a specific someone! Again, I added wrapped twine and a twine created pom pom for fun!


I loved the two boxes but wanted one more piece to add to the Happy Birthday message. I had some vintage spools handy and decided to cover one with three different colors of washi tape. I placed a small piece of styrofoam in the center of the spool. Finally, I created washi flags and attached them to a piece of wire and placed them inside the spool center.


There you have it! A quick and fun way to decorate and personalize these amazing kraft boxes! Thanks for stopping by! Shelley

Friday, February 22, 2013

Fan of the Week Feb.22-Mar.1

Welcome to the beginning of our weekly interaction contest. We know word of mouth is very helpful in getting the word out about our products and we want to thank you for helping.
We are excited to announce a new weekly feature to our fb page! Every week we will pick a "Fan of the Week". To be entered for this weekly giveaway all you have to do is interact with us. Like, comment on and/or share posts on our fb page, and be a follower of and leave a comment in the specified section of our blog.
At the end of the week, the fan that has interacted with us most will be chosen as the "Fan of the Week" and will receive some awesome gifts from the shop!

Saturday, November 17, 2012

Advent Countdown box project..

I know that Thanksgiving isn't even here yet but I would love to share this Christmas Advent countdown project with you! This little project is for counting down the 25 days until Christmas, which is fast approaching. It features the lovely little 2x2 boxes from Le Box Boutique.


 To make this project you will need 25 of the Le Box Boutique's 2x2 Kraft Natural Gift Boxes,
and Kraft Twist Ties, scrapbook paper, adhesive, craft knife. (optional: magnets, and embellishments)


 First I cut 2x2 pieces of scrapbook paper to cover 3 sides of the box. and then decorated them with flair, twine, punched pieces of scrapbook paper. Do this to all 25 boxes.


 Here is where you can customize what you want your Advent Calendar to be! I filled some of mine with shredded kraft paper. Inside I will add strips of paper listing something we will do as a family for each day. It could be helping a neighbor, playing a game, etc. These boxes could also be filled with candy or other goodies. I placed magnets on the back of my boxes and then placed them on a magnetic board I had handy. You could also use a cookie sheet if you want to go the magnetic route. Another idea I had was to make them into Christmas tree ornaments once they were opened.


 Do make your box into an ornament just make two slits using your craft knife.


 Then thread your kraft twist tie through the holes.


 And then tape the ends on the inside of the lid of the box!


Now you have an Advent Calendar ornament!


 I hope that you have been inspired to make your own Advent Calendar! It really is a simple and quick project that can be used year after year! It's a great way to include your whole family in the celebration of Christmas and to do something for others!


Shelley Haganman

Sunday, November 4, 2012

Holiday Berry Basket Projects!

I love these berry baskets by Le Box Boutique and I thought I would share some fun ways to create some holiday projects with them! First off is a cute little pincushion project. All you will need for this project is a square of fabric (mine is 11inches by 11 inches), some trim, a spool, adhesive, fiber fill and twine.

First take your piece of fabric and fill it with your stuffing! I just used fabric glue and glued all the ends to each other on the underside of the fabric cushion you have just created. Set that aside and trim the outside of your berry basket! Next, wrap twine around an empty spool. Now it is time to put the project together. Simply place the filled fabric cushion into your basket. Add some adhesive to the top of your spool and place on the underside of the basket. Let it dry and your project is finished. Just add some fun colored pins to the cushion!


 For the next projects I took 3 berry baskets, sprayed them with spray adhesive and then added glitter to give them a festive look! I used turquoise, red, and silver glitter. All these baskets have a styrofoam or floral foam piece sitting in the base of the basket.
************************************************************************************
The first project I made using my glittered basket is a photo holder! You will need floral wire, twine, washi tape, trim,number stickers, and adhesive.


 To make the cute little washi tape flag holder I simply took some silver floral wire and cut to the length I wanted them. Next, place them in the foam in the base of the basket. Tie the twine and fold a piece of washi tape around the twine. Just cut a "v" in the bottom of the tape and add some number stickers. Using the floral wire again cut a longer piece and roll the end around a pencil, flatten that end and now you have your own photo/saying holder! I added a photo of my nieces and a tag saying "Merry Christmas"! Decorate the box how you would like! I added pom pom trim and filled my basket with white shredded paper that I created with my home shredder! I also added some fun pins as well!

This next basket could be a photo holder, a place setting, or a way to display as message. You will need your glittered basket, shredded kraft paper, a clothes pin, twine, and lace.

First I took my glittered basket and lined it with some vintage lace that I had collected. I then filled the basket with shredded kraft paper. Next, I stuck a clothespin upside down in the foam in the base of my basket. This will hold whatever you choose to put in this project. I printed a graphic on the computer and added a "25" bingo piece! I also tied a piece of twine around the clothespin for an added touch!


The final basket is just a little table top decoration. You will need 2 small doilies, fiber fill, adhesive, floral wire, and decorations.


For this last basket I cut two small paper doilies in half and adhered them to the inside of the basket. Next, I filled the basket with some of the left over fiber fill used to make the pin cushion. Maya Road makes these beautiful transparent snowflakes so I taped a piece of floral wire to the back of them. After that I added some of my flair buttons to the center of the snowflakes and arranged them in the basket.

I hope I have inspired you to make something fun with Le Box Boutique's amazing berry boxes!

Shelley Haganman

Wednesday, October 24, 2012

Fall place settings

Hey ya’ll! I am Kelsey from the blog Poofy Cheeks and today I am excited to be sharing a fall inspired place setting that I made using items from Le Box Boutique! These place settings would be perfect for Thanksgiving dinner! I am hosting Thanksgiving dinner at my house this year, so I plan to fill them with after dinner mints for all of my guests.


DSC_6763 DSC_6757


To make these I gathered all of my supplies:


I stamped a pumpkin onto the lid of each box and then folded them. I wrote the name of my guests on the kraft tags and embellished them with a leaf gem. Then I attached the tags using twine and a clothespin. The final part was to add a strip of washi to the front of each box and fill them with the dinner mints!


DSC_6759 DSC_6760 DSC_6764 DSC_6761 DSC_6762


Date: Sun, 21 Oct 2012 15:16:30 -0500

Sunday, September 30, 2012